Emerald is a Joomla Membership extension. Another words it allows you to restrict some pages or actions on your website on payment base byt creating subscription plans.
Emerald is an oldest membership Joomla extension and very mature. It has almost any feature you need and may be configured to mach any subscription scenario.
Emerald has it’s own unique algorithm that allows to restrict any 3d party extension without need of special integration.
There are 5 emerald elements.
You can install them separately. But Emerald is distributed in a form of installation package which will install all elements. In basic package you will get only free elements.
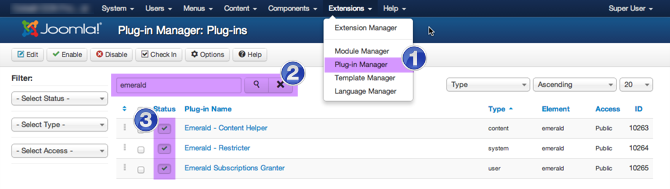
pkg_emerald.j3.v.9.xx.zip.Open plugin manager and search plugins by word “emerald”. You wills see 3 plugins. Publish all of them.
Got to Menu / Menus / User menu / Add new menu item

Chose Emerald / Control panel

And make this menu element accessible only for special.
Here is how it should be set up.

And now save this menu element.
Now open emerald configuration.
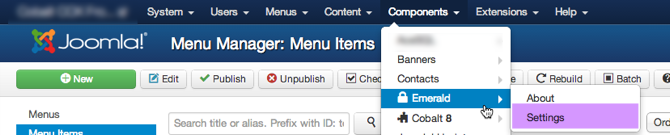
And set menu elements you’ve just created.

And configure other options as you wish.
Very important to understand that emerald is a frontend extension. It means that create plans, manage subscriptions, create coupons or any other actions that is classically used to be managed in backend, now moved to frontend.
I know, for some peopel at first it may sounds weired and senseless. But let me try to convince you that this is indeed the way to go.
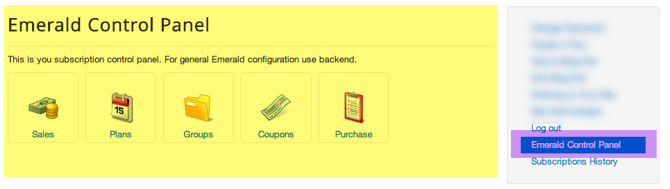
Now open your site frontend and login. Click Emerald Control panel link in user menu we have just created earlier. You will land to Emerald control panel.
Before we create restriction plan we have to create group or you might think of it as plan category.
Click Groups icon in control panel and then add button.
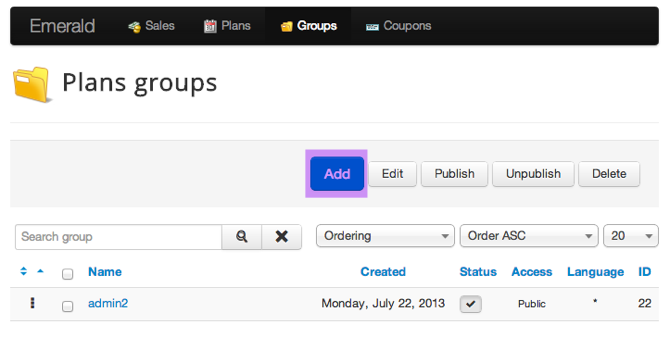
Enter group/category name and description. Description is what user will see before list of the plans of this group. You can enter here any useful general information about plans.

You also can choose template for this group. There are 2 templates provided with emerald by default. You can read more about template in How to customize templates article.
The last step is to create restriction plan. this part may be bit complicated as plan contain many parameters and it may take time to learn them all. But you do not need them. You only need to know few main parameters.
In Emerald admin menu click Plans and then Add button..

This is all we need to set on this tab. To learn all parameters, read Plan parameters article.

Now you have to add restriction rules. rules are bonded to components.

You may add as many rules to plan as you want. Even few rules for the same component.
Rules are based on adapters. If special adapter for chosen component is found, then it is used to control this rule. It adapter is not found universal restriction adapter is used. You may develop your own adapter if you want some special restriction checks to be done.
Actions tab is not necessary for minimum setup but you can learn everything about actions here.
Foe every plan you have to configure at leas one payment gateway unless your plan is free (price = 0).

This parameters are not necessary for minimum plan setup but you can read all about those parameter in this article.
Here you can setup what email messages will be sent to user. One important note that if you want multilingual alerts you can use constants like for example ALERT_PLAN_NAME_SUCCESS in subject and message body and override those constants in Joomla language manager / Overrides.
You also have to configure cron task in order expire alerts to be sent. Cron is triggered through URL. You can set following cron task at least once a day.
wget http://mysite.com/index.php?option=com_emerald&task=emcron.send_expire_alerts&secret=123456
Where secret is a text that you set in Emerald global parameters.
Emerald is simple to learn and very straightforward extension but at the same time advanced with almost any feature you could dream about.
Enjoy!
 MintJoomla Documentation